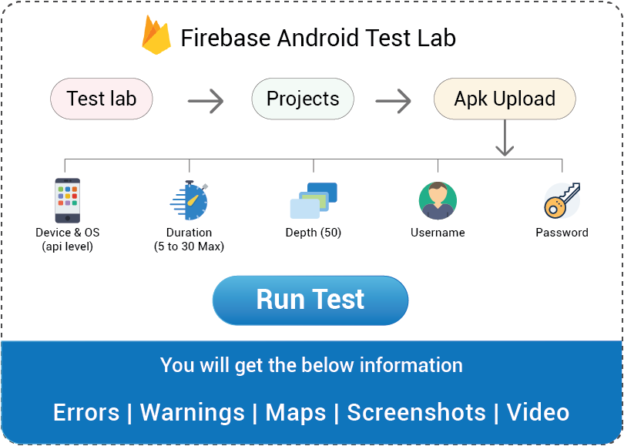
Steps to start using Firebase test lab to run Robo Test on Android Platform:
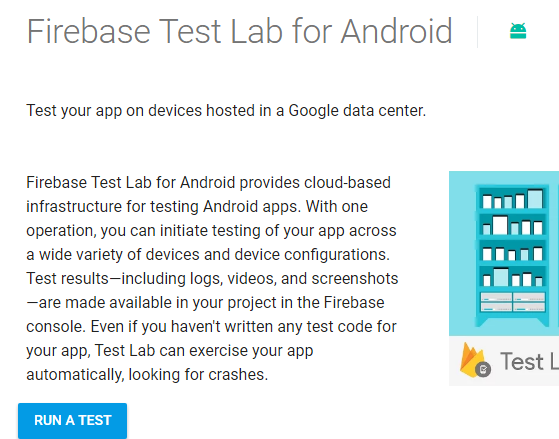
- Go to URL: https://firebase.google.com/docs/test-lab/
- Click on RUN A TEST button
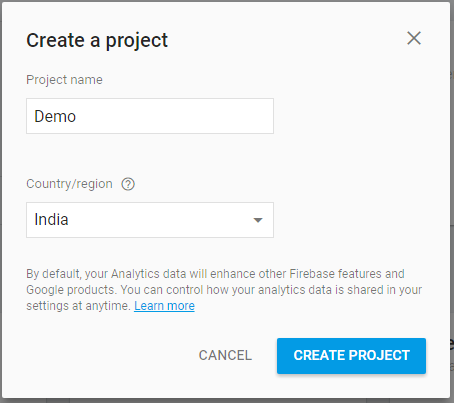
- Create a Project by clicking on “+” icon and providing required inputs
- Click on CREATE PROJECT button
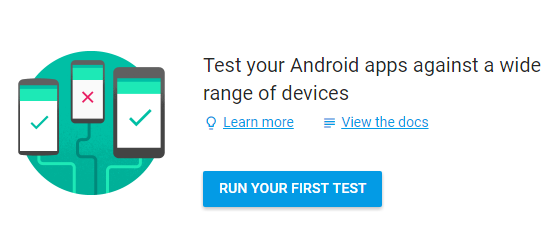
- Below screen will open
- Click on RUN YOUR FIRST TEST button
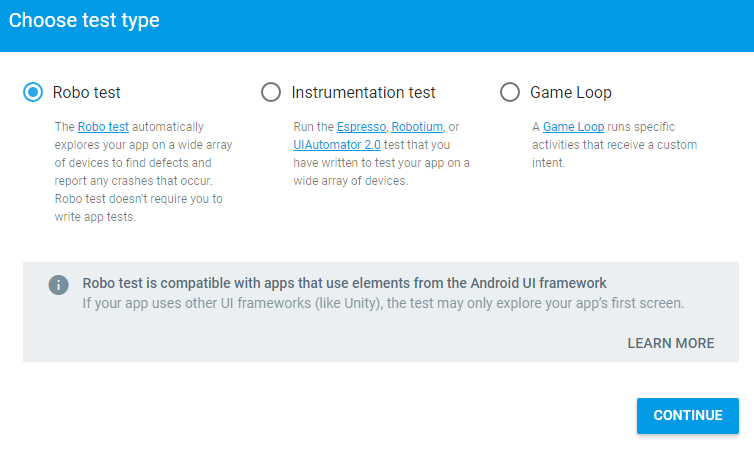
- Below screen will open
- Click on “CONTINUE” button
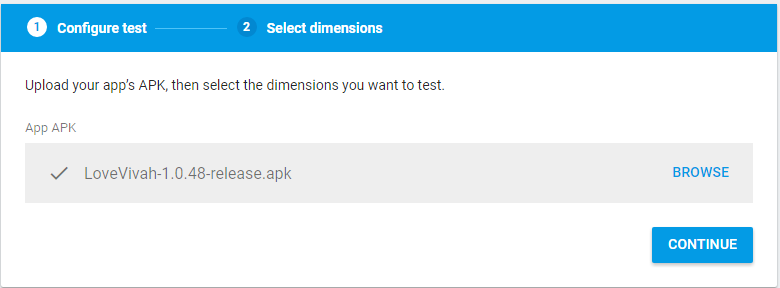
- Browse the APK path and click on CONTINUE button on successful upload of APK
- The below screen will open that has no of devices that can be selected for testing purpose
- You can check devices along with API level that denotes OS version for e.g.: API level 25 denotes Naugat OS 7.1.1

- Switch on Advanced options toggle
- The credentials to be used in App needs to be defined as follows in below snapshot:
Here, Resource Username and Resource Password will be provided by development team and their values need to be input that are required to login into App
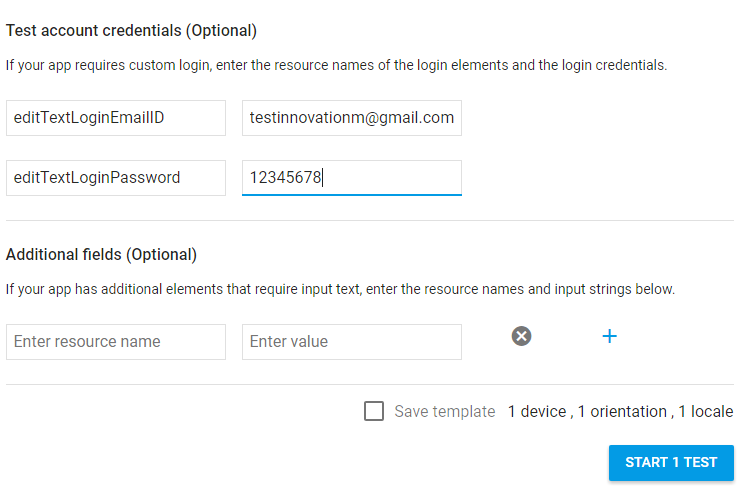
- You can also choose minutes to run Robo Test and depth means path coverage of App

- You can also save all your settings as Template so next time you can choose same in place of repeating steps
- After running the test, you would get following screen:
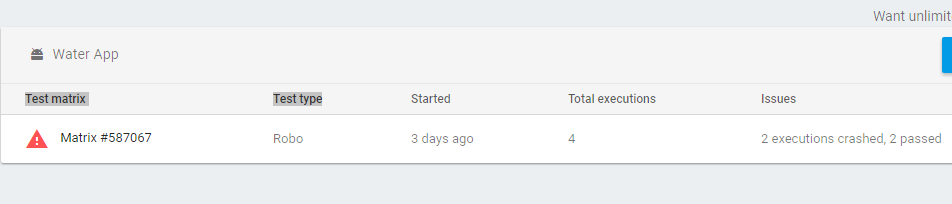
- Click on Matrix ID # link. You will be able to see device selected, run time duration and API level
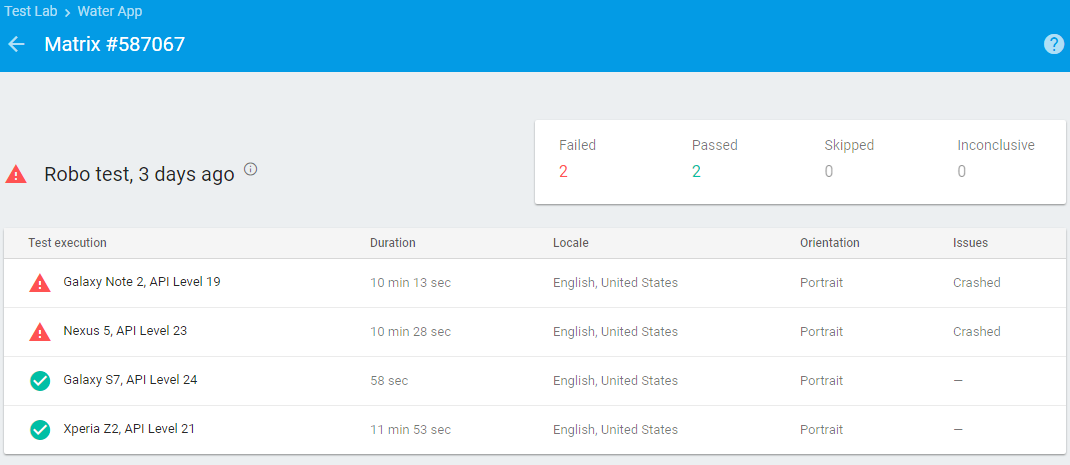
- Again, click on device link
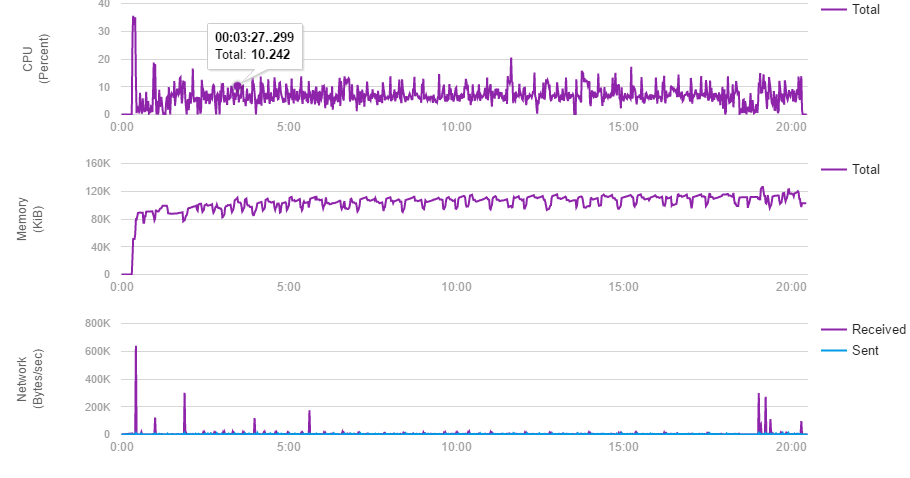
- Now, you can go through screenshots, path covered, logs and performance
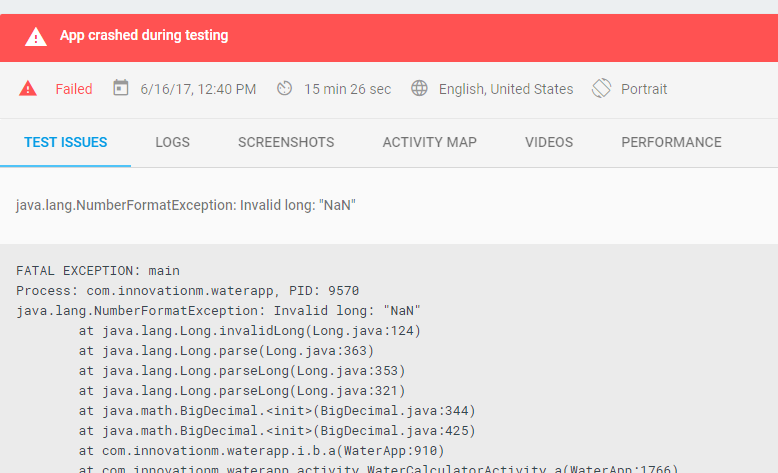
- Logs let us know the errors and warning at code level
- Test Issues let us know the reason of build getting crash
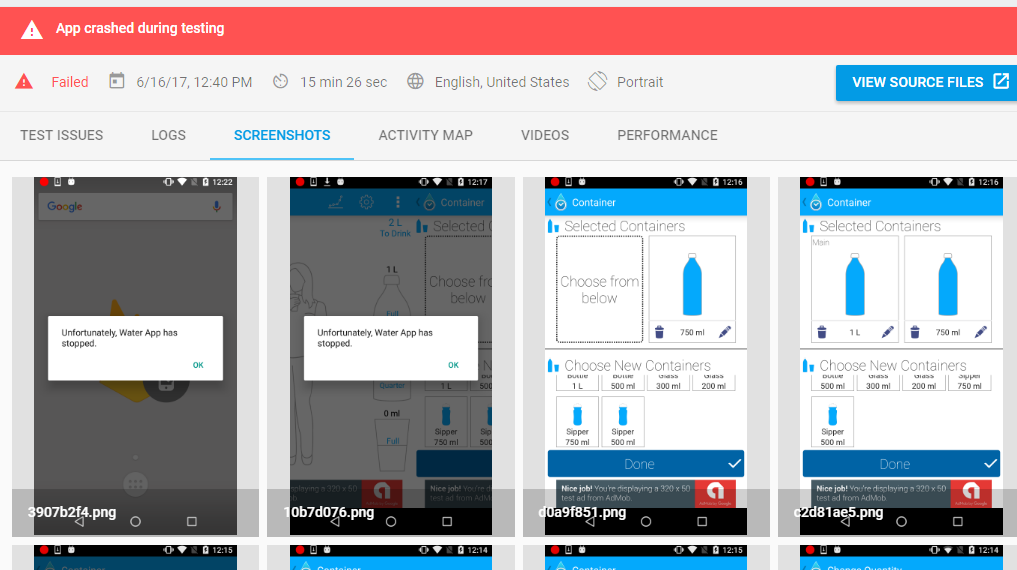
- Screenshots let us know the UI on various devices selected
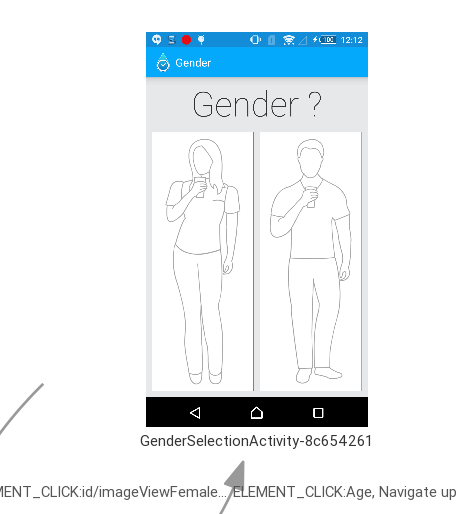
- Activity Map shows the path followed while running test script in background
- Videos illustrates the flow traversed during testing in real time
- Performance give insights about CPU and memory utilised by App during testing run time